
We’d love to send you money-off vouchers, exclusive offers and the latest info from Attwoolls Outdoors by email. We’ll always treat your details with the utmost care and won’t share them with any third party. You can, of course,opt outof these communications at any time! See ourPrivacy Policyfor more info.
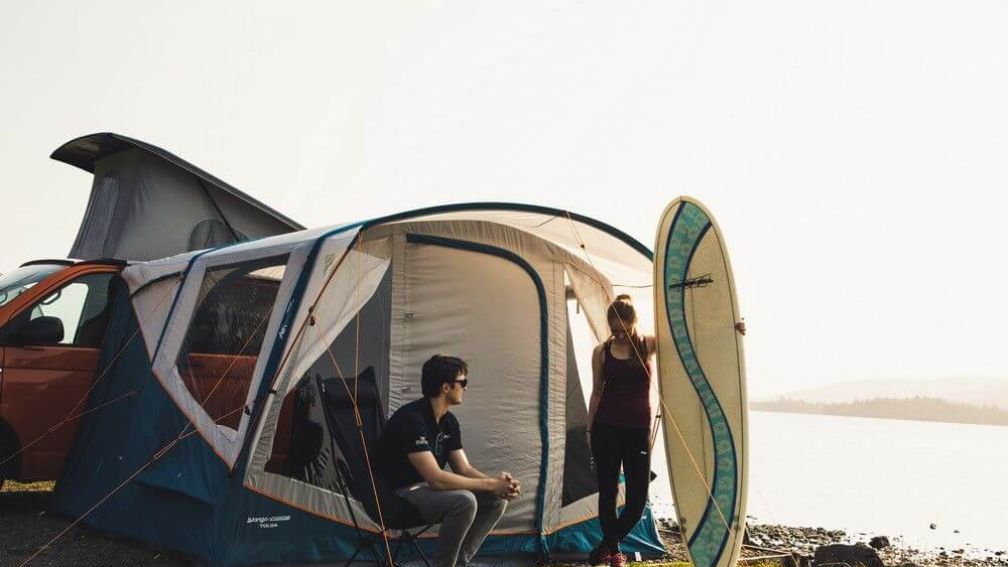
How to set up a drive away awning
Whether its your first time using one, you’ve done it before but still struggle, or you’re thinking of buying one and want to know what you’re getting yourself into, it’s always handy to have a guide to make sure you’re definitely doing the right thing! So, here’s our guide (and some useful tips) on how to set up your drive-away awning.
- Lay out the footprint on a clean and dry base and won’t damage the awning if you’re on a hard surface or gravel.
- Get the awning out of the bag, spread it out, locate the tunnel section where the beading or the throw straps. Whether you have a fixing kit or a rail, or a gutter, or are merely throwing the straps over the van and pegging it on the other side of the van, the key thing is to bring the awning far enough forward that you can open the door without it catching.
- Place the awning 10-20cm to the left of the sliding door. You can change this once you’ve done the back. Once you’ve placed the front check the positioning. Can you fully open the door within the tunnel section? Ideally you want the door fully opening in the tunnel for peace of mind and ease
- Peg it down the bottom on the ground, seal the awning nice and tight to the van itself, when we peg backwards away from the van, naturally the material will shift backwards. 20cm underneath the vehicle is ideal, it’s better to give too much material than too little, it’s much easier to undo and pull it closer in, but if you don’t go far enough in you’ll struggle to get under the van and give more tension to it.
- We always recommend having the pegging points on its furthest setting so you can tension it, if need be, ideally depending on the driveaway tunnel depends on whether you need to go straight down, or whether they splay out a little bit (this means not in a dead straight line, the bottom bit will be out a bit in relation).
- Now, peg out the other end of the tunnel section. Depending on whether it comes out or goes along the van (which way its facing), now do the ones closest to the van, and then do the other side, created a rectangle which comes along the van, out and towards us. Gives you position away from the van, you may now need to move the footprint to make sure its covering, maybe lay it down initially and peg the footprint at this point. Now peg out the rest of the awning, if it faces directly out you’ve already done the main 4/6, if it runs alongside the van then do it like a tent – the back, then away from the van.
- Now insert poles or inflate. Start with the one closest to the van if its going along the van, if its coming away from the van, start in the middle of the awning as it reduces the amount of weight and strain. If you start in the middle, you’ve got equal tension and you’re not forcing or damaging fabric, you’re in control. Once you’ve inserted or inflated every pole, start with the main storm straps. The ones that come out of the front or back, for enough tension
- Now go around and look at pegging points, you’ll have done 6 or 10 at this point, see if anything needs adjustment or tweaking.
- Make sure the doors are partially open so air can get inside or it’ll act like a vacuum and won’t go up properly. With a poled model, if possible, have someone go inside and push up to help with the weight and control.
- Now, peg out the rest of the awning – base first then guy ropes, do one side at a time, doesn’t matter too much – MAKE SURE all doors are fully closed to make sure the tension is correct, and you won’t damage the doors trying to shut them if there is too much tension in the fabric and tightly pegged.
Of course, all awnings vary! This is not a specific one size fits all guide, but a general helpful guide. Every awning should come with its own set of instructions and guide on how to put it up!
If you have any questions, don’t hesitate to contact us – come and see us in store, email us atcamping@attwoolls.co.ukor call us on 01452 742233